To navigate to the Proxies page simply click the “Proxies” tab on the navigation bar at the top of the interface. Once done you’ll arrive to a page that looks like so:
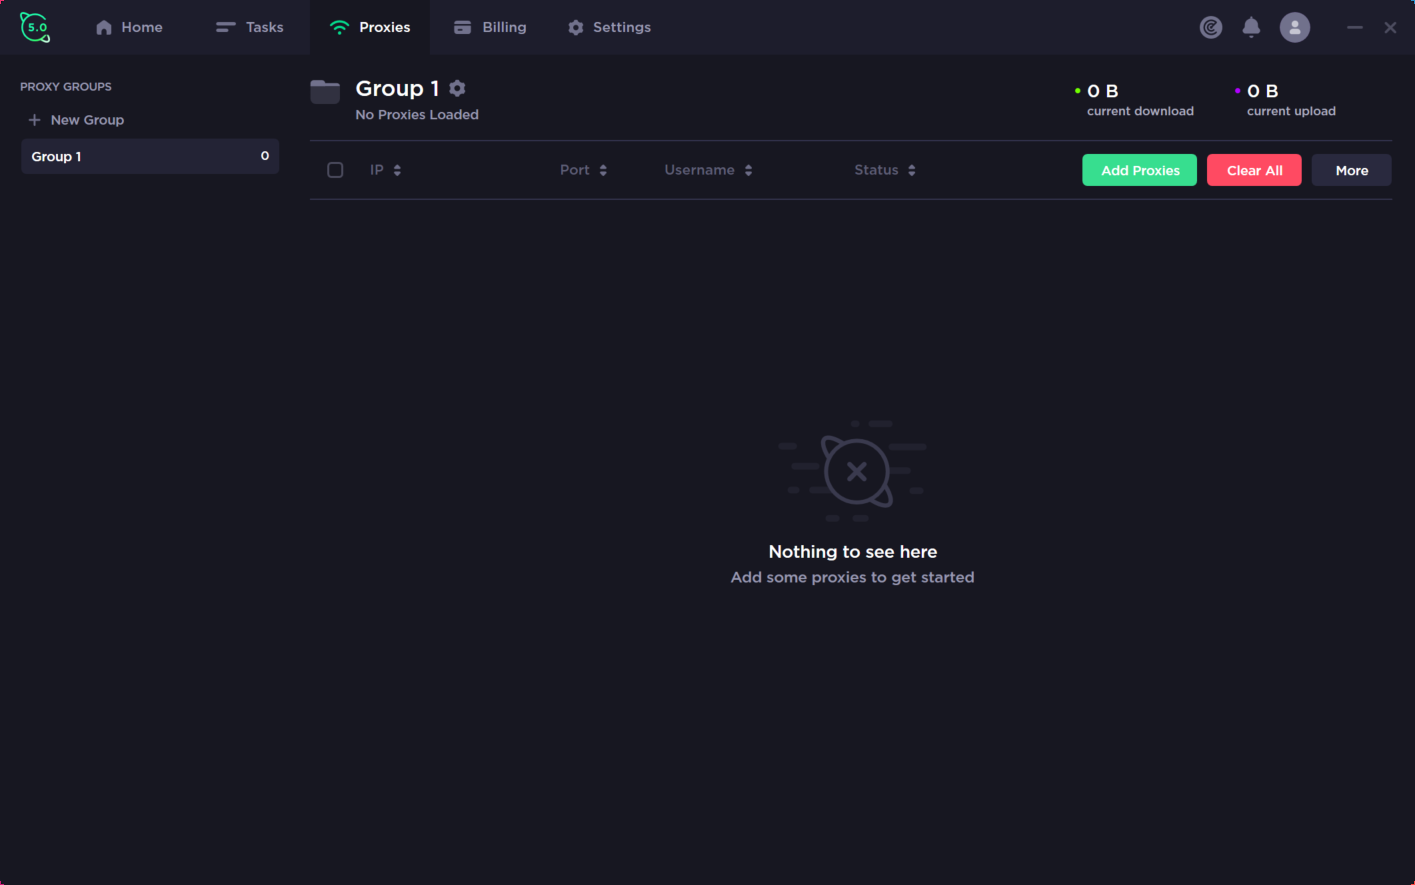
On the left hand side you have your Proxy Groups, in the center you’ll find your actual proxy grid where your proxies will appear along with numerous titles including “IP”, “Port”, “Username” and “Status”. To the right of these titles you will find the “Add Proxies” button and a “Clear All” button along with a “More” button which features extended options which will be touched upon further down. Above these buttons you’ll also find how much bandwidth you’ve used in both download and upload for the specific proxy group selected.
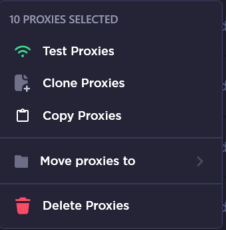
You can also use a mouse right click to access further option/shortcuts as seen below: